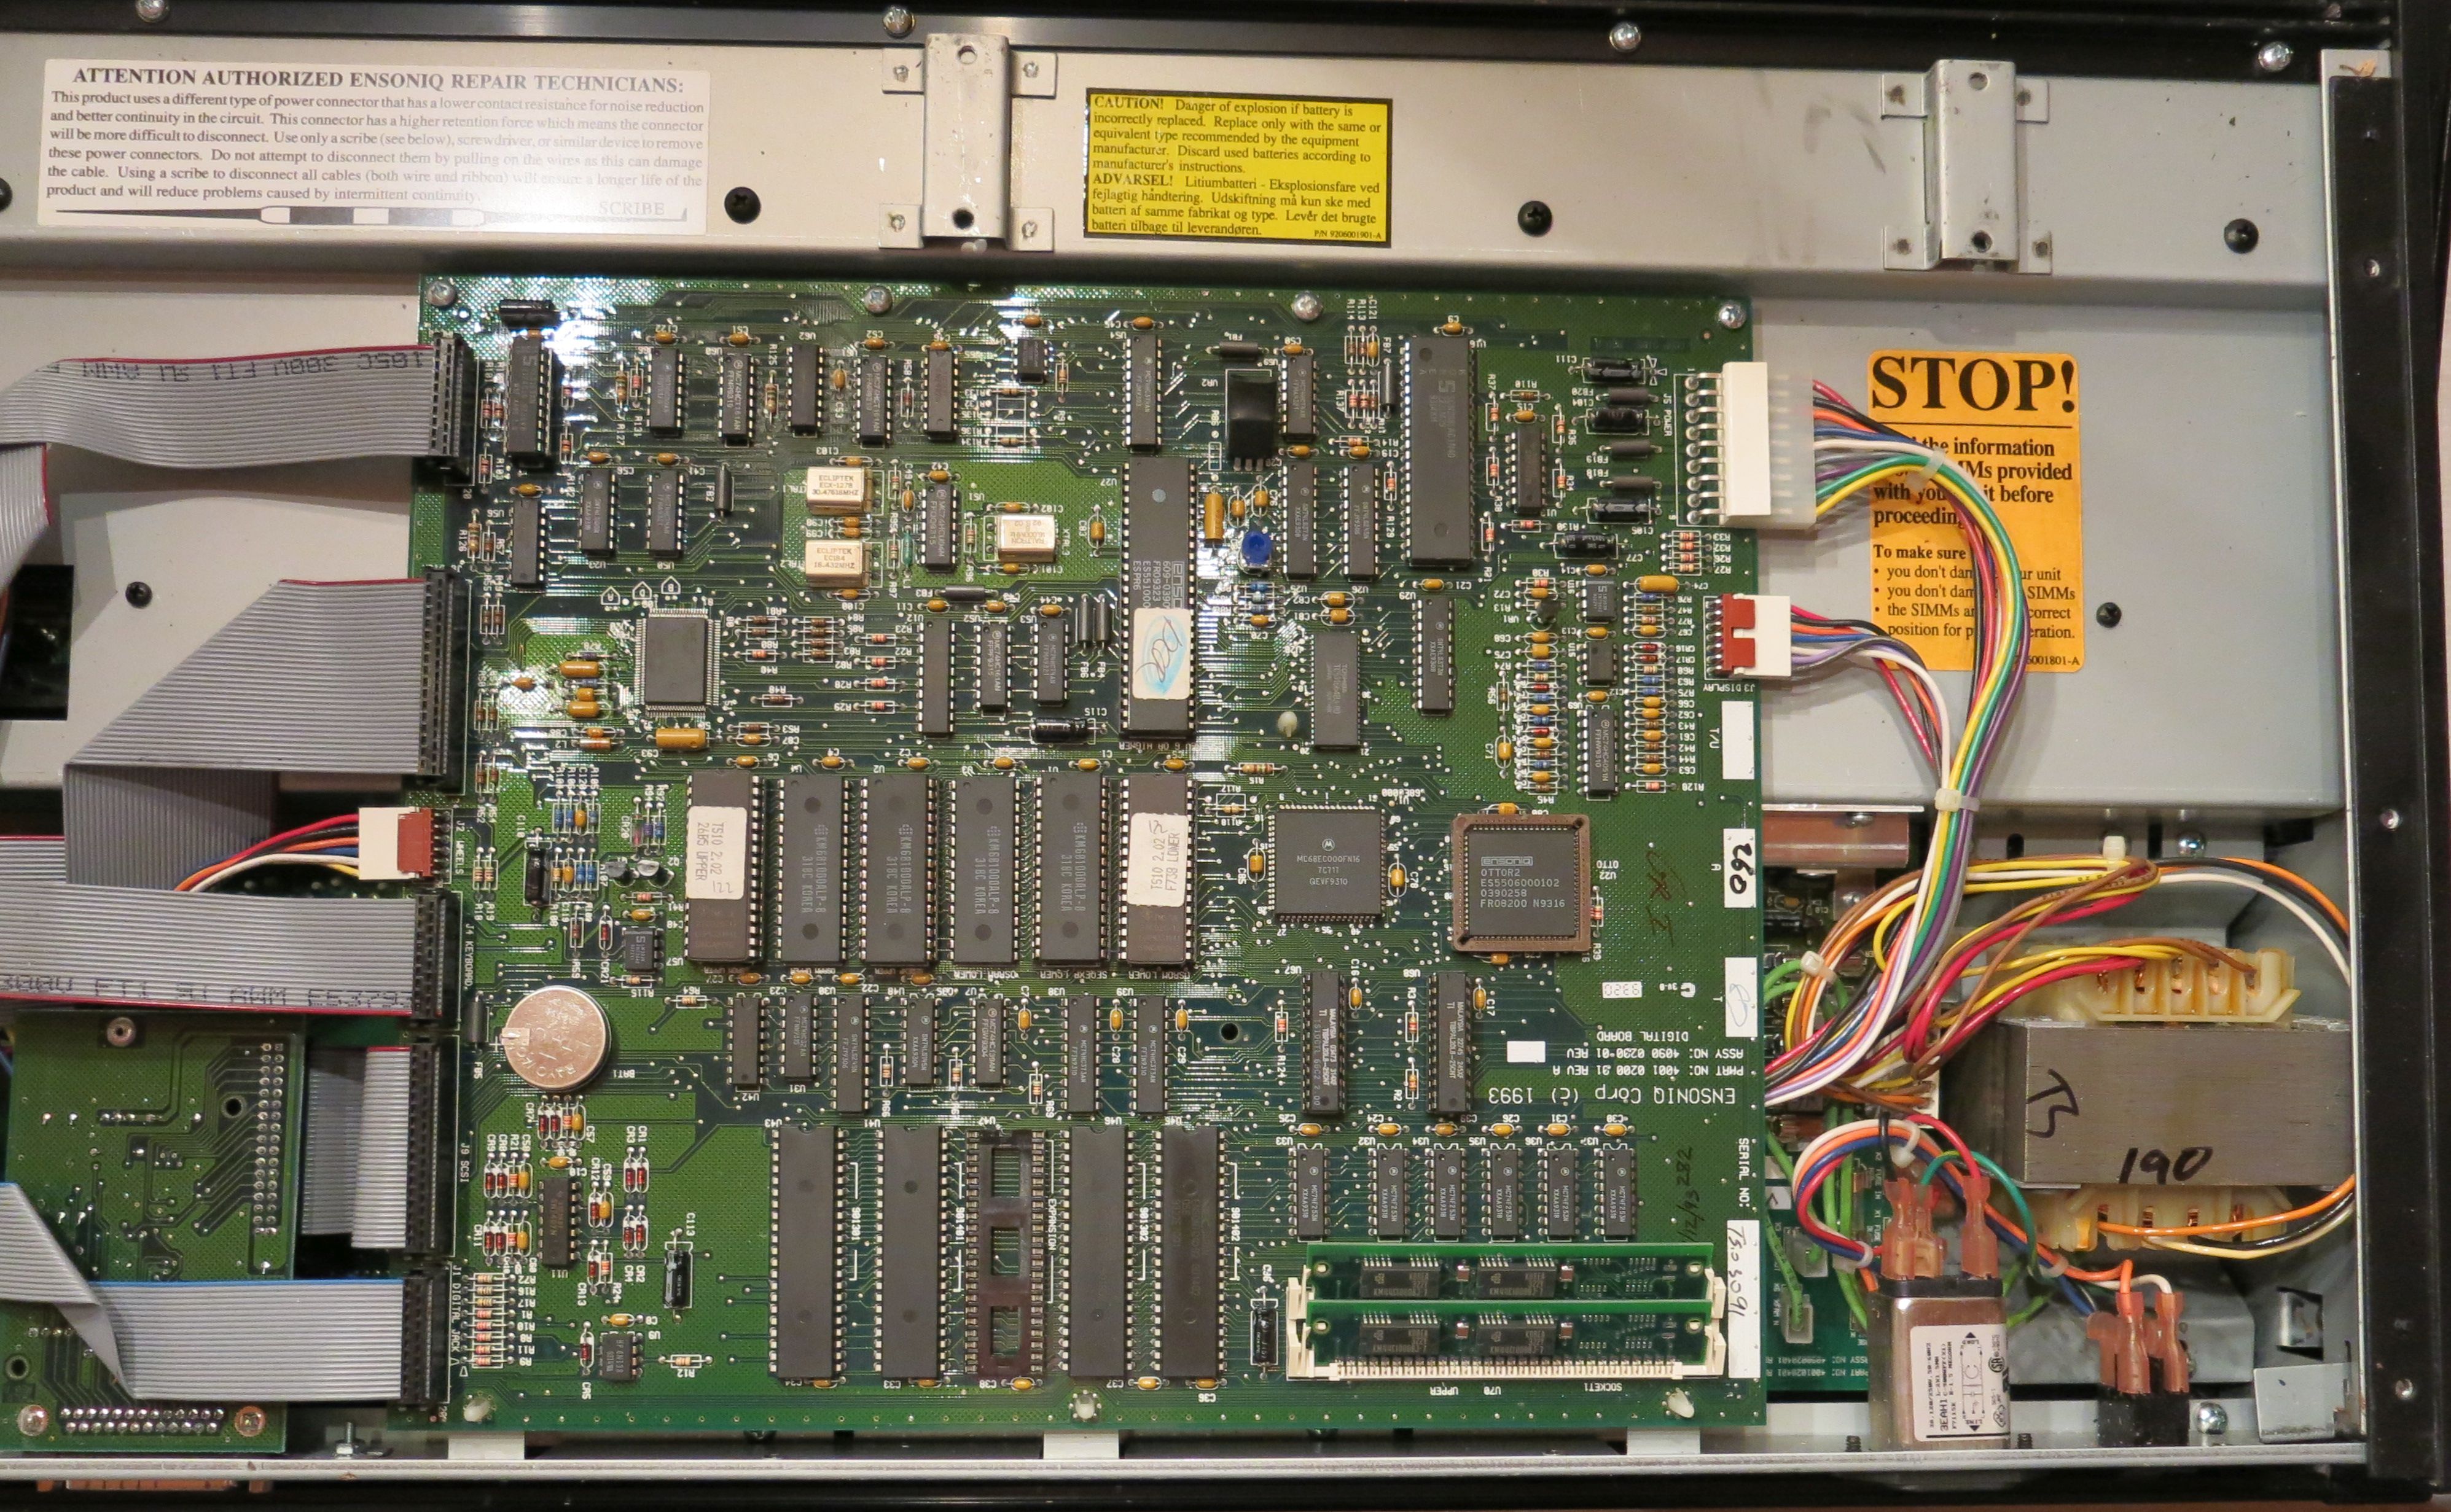
ts10/ts10mainboard.jpg
To view high resolution images, right click on image and select View image or Save image
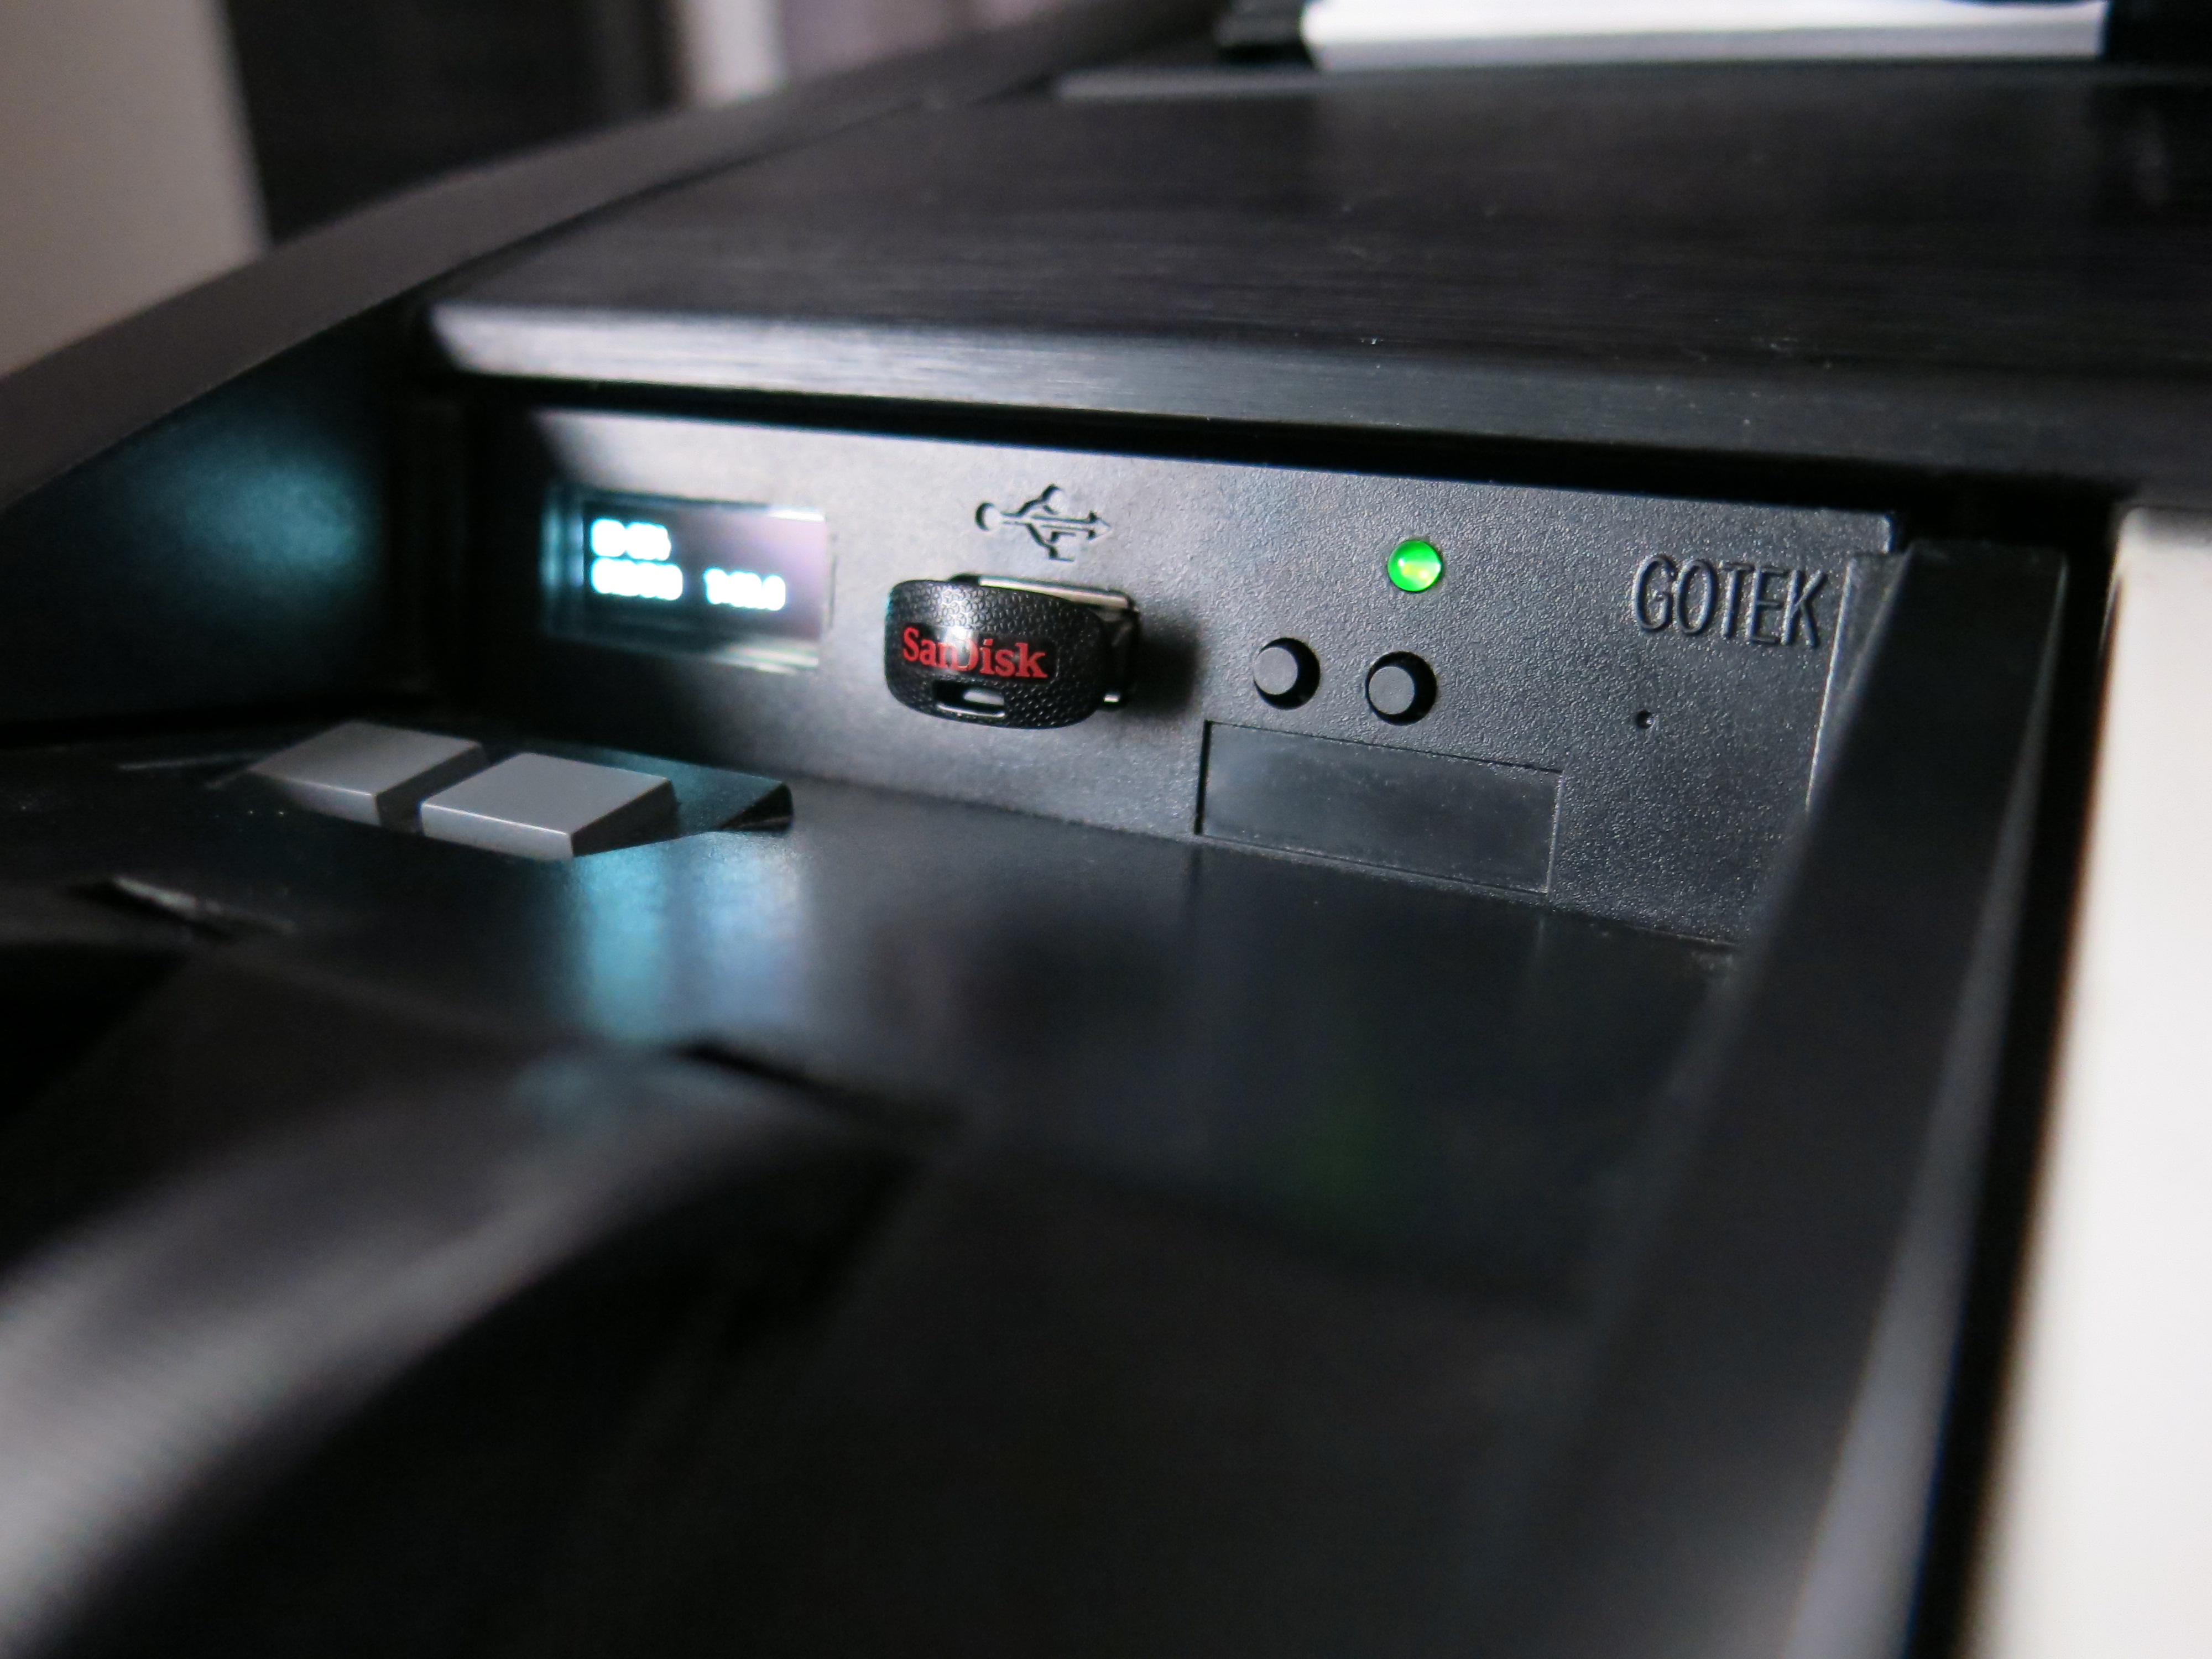
TS10 being able to read many of the Ensoniq samples found on internet makes it compelling to upgrade the old floppy disk drive to USB memory stick for easy access.
So far non of the disk images I've encountered have needed more memory than my 4MB upgrade can handle (max 8MB). But some of the floppy images utelize near all of the 1600kB disk space where default memory size at 2MB then seem to come short. This is due to the fact memory are split into two locations (8-9) then giving only 1MB pr slot.
The are a couple of ways to install FF (FlashFloppy) on to a Gotek drive. Since I already had a cheap 2€ serial programmer (USB to TTL) sourced of eBay it seems natural for me to go this route.
I like to stress there are no need to solder anything like most guides on the net like to tell us. Just insert header pins in the correct position and put pressure to it side ways to make propper contact while programming, — it only takes a few seconds. By now I've done three of these Gotek's this way and didn't even disassemble any of them other than to upgrade the display later on.
Download and learn about FlashFloppy at https://github.com/keirf/FlashFloppy/wiki
To follow this tutorial FLASHER-STM32 are needed to do the initial programming of FF to the Gotek. Register your email address for download link here https://www.st.com/en/development-tools/flasher-stm32.html
On Windows FLASHER-STM32 is given an obscure program name — look for Demostrator GUI.
 My Gotek where shipped from Hong Kong deliberately not choosing the cheapest seller in hope I got one with a genuine STM32 MCU.
Download, unpack and install FLASHER-STM32
Download and unpack latest FlashFloppy pack.
When this is written current beta are at 3.11a.
Connect programmer then start Demonstrator GUI and follow these screen dumps. Near all values are default values.
The OLED screen upgrade on the Gotek only gets useful if one makes the time to move the USB stick back to the computer and rename all disk images after learning what content they have from the TS panel.
Keir Fraser made navigation on the FF so clever I've found no need for a rotary encoder. Items are auto selcted when browsing with the two buttons and default timer settings works perfect for me.
By dividing content into folders there are no need to browse 30, 50 or 99 items. By pressing both buttons I always get back to root directory where I then can select another directory from a short list.
To get access to the floppy drive inside TS10 the bottom plate has to be removed. This is easy and simply involves removeing all screws on the bottom and on the back. Note the six screws at the front are self tapping type, — all others are machine screws.
There are four screws holding the floppy drive, all accessible from the bottom, or top now when the synth are flipped on it's face.
I recommend to thread all four screw holes on the Gotek by inserting a screw into the holes before mounting. This help enter the screws when mounting which can be a little fiddely as plastic mount on the TS10 has a little imprecise casting combined with new screw placement will be moved a millimeter or two compared to the removed Panasonic drive.
While IMG images are the recommended image format FlashFloppy will read HFE images as well.
I made this zip file containg a working ff.cfg (FlashFloppy Configuration for TS10) and an emty floppy disk image formatet on my TS10. Simply unpack and copy to root on your USB stick.
FF will create a file IMAGE_A.CFG on the memory stick to store name and full path to last used disk image. Which it then loads at start-up. Very useful, especially if this image are not changed from you loaded samples into RAM of your synth. TS10 will automatically suggest to load all samples from a named disk image at next start-up if it had samples in memory at power down.
I've not been able to save samples yet. This might be an intentional limitation for copyright protection or a limitation by yours truly.
Not sure as to why, but I had to reseat the floppy drive cable a couple of times before TS10 would recognize my Gotek drive.
Cable went in same direction as on the Panasonic JU-257A724P. Only power connection now are on the opposite side.
If cable are inserted upside down FF give a warning on the Gotek display. You bet I'm in the know!!!
USB stick can have multiple partitions, but only the first primary partion are read by FF. This partition must be FAT32.
My current USB stick is 64GB and I repartitioned it to have a large 4GB partition for TS10. Rest is used to hold all sorts of backups of backups inkluding disk images not used.
I fear this tiny SanDisk shown in photos here might be very short lived as it get very hot, even at idle.
While this is simple as copy & paste creating 100 of them soon get tedious. I made this simple script to run on my Windows 10 to ease this task. Run bat file from same directory as where the file you want to copy, or edit paths as needed. You also find this script inside the ff folder in zip file mentioned somewhere else on this page.
@echo off
REM start file number from
set start=1
REM last file number
set end=99
REM first characters in filename
set prefix=TSD-
setlocal EnableDelayedExpansion
for /L %%i in (%start%, 1, %end%) do (
     set "fnr=00%%i"
	 copy TSD-000.img %prefix%!fnr:~-3!.img
)

ts10/ts10mainboard.jpg
To view high resolution images, right click on image and select View image or Save image
Select file from list below
Your comment are welcome